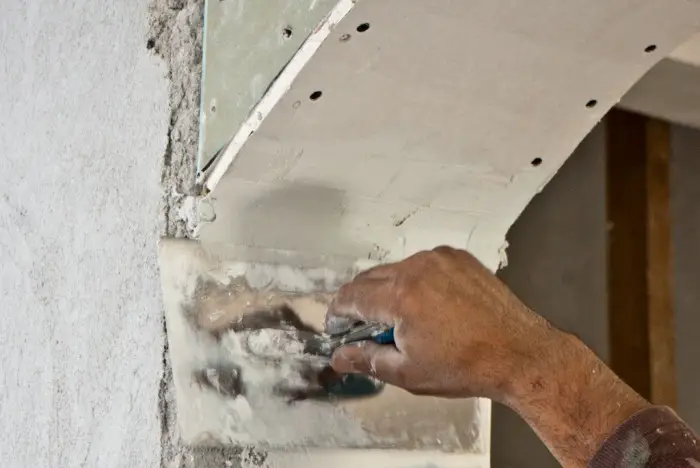
Finishing drywall joints is not an easy task. Some like to use wider drywall knives when finishing drywall joints, while others tend to select specific joint compound. Furthermore, be sure to select appropriate materials, follow these tips and you will get great finish drywall joints.
- Keep your knives as clean as possible. Wipe off surplus joint compound after every pass with the knife.
- At no account should you mix dried compound with fresh compound. Dried joint compound will leave an uneven finished surface. Get rid of dried joint compound from the pan.
- Make certain all screws are set below the surface. You should run a knife over all screws – if the knife hits a screw head, the screw must be set in further.
- When you begin finishing drywall joints, is significant to extend your strokes.
- I would suggest using a fast drying, low shrinkage patching plaster or spackle for filling gaps.
- Do no put too much joint compound in the knife. Using a small amount to finish drywall joint will let you to reduce joint compound waste.
- Use flexible knife blades. Try to flex the blade with your hands to see if it’s an appropriate knife to be used.
- Begin by finishing butt joints, joints that happen on the ends of drywall sheets.
- After all butt joints are completed, move on to tapered joints. Tapered joints are the ones along the edges.
- . The last regions to be worked are inside corners followed by outside corners. When finishing inside corners drywall joints, keep in mind to work one side at a time.
- Mix the joint compound before applying. Even ready-mixed joint compound should be mixed to smooth out the compound.
- For superior results mix joint compound using a mixing paddle attached to an electric drill.
- After the first pass, clean off the knife on the side of the pan and smooth the entire joint in one stroke.
- If you want to finish butt joints, remember to wipe off joint compound from both corners of the knife.
- Imperative tip: Very swiftly pass the tape piece through a bucket of water wetting both sides of the tape.
- Once the butt joint is covered with joint compound, cut a piece of tape and embed it over the joint line. The tape must be placed over the middle of the butt joint. Cut tape to the length of all joints you will be finishing before starting.
- Once the tape is in place and smoothed, cover the entire joint with more compound, this time using an 8-in. knife.
- Clean off any surplus joint compound that squeezes out. Some professionals suggest letting the joint compound set during 24 hours, before applying a second joint compound coat.
- Now, let’s finish tapered joints. Tapered joints must be filled with joint compound by using a 5 in knife.
- Repeat steps 13, 14 and 15 but this time ailing the tapered joint.
- Cover the fastener heads with a wide stripe of compound and scrape off the excess.
- Now let’s finish drywall ceiling joints.
- Load your knife with joint compound, Do not load the knife too much, or it will fall on the floor.
- Press the knife against the ceiling and move it slowly along the joint flattening the knife as you move.
- Now, finally, sand very lightly as needed with a sheet of fine 220 grit paper on a 3″x8″ sanding block. Dust or vacuum the surface, shine a light again, and fill in any residual flaws with thinned mud resolutely drawn down.
Thank you for your awesome drywall tips. You are definitely an expert and I am just happy to learn from you. May I know how we can contact you?
It’s great to learn that you should use flexible knife blades when doing a drywall project. My brother is starting his remodeling business soon and he was wondering what kind of tools he should use when he works on drywall. I’ll be sure to tell him to use flexible knife blades with drywall.