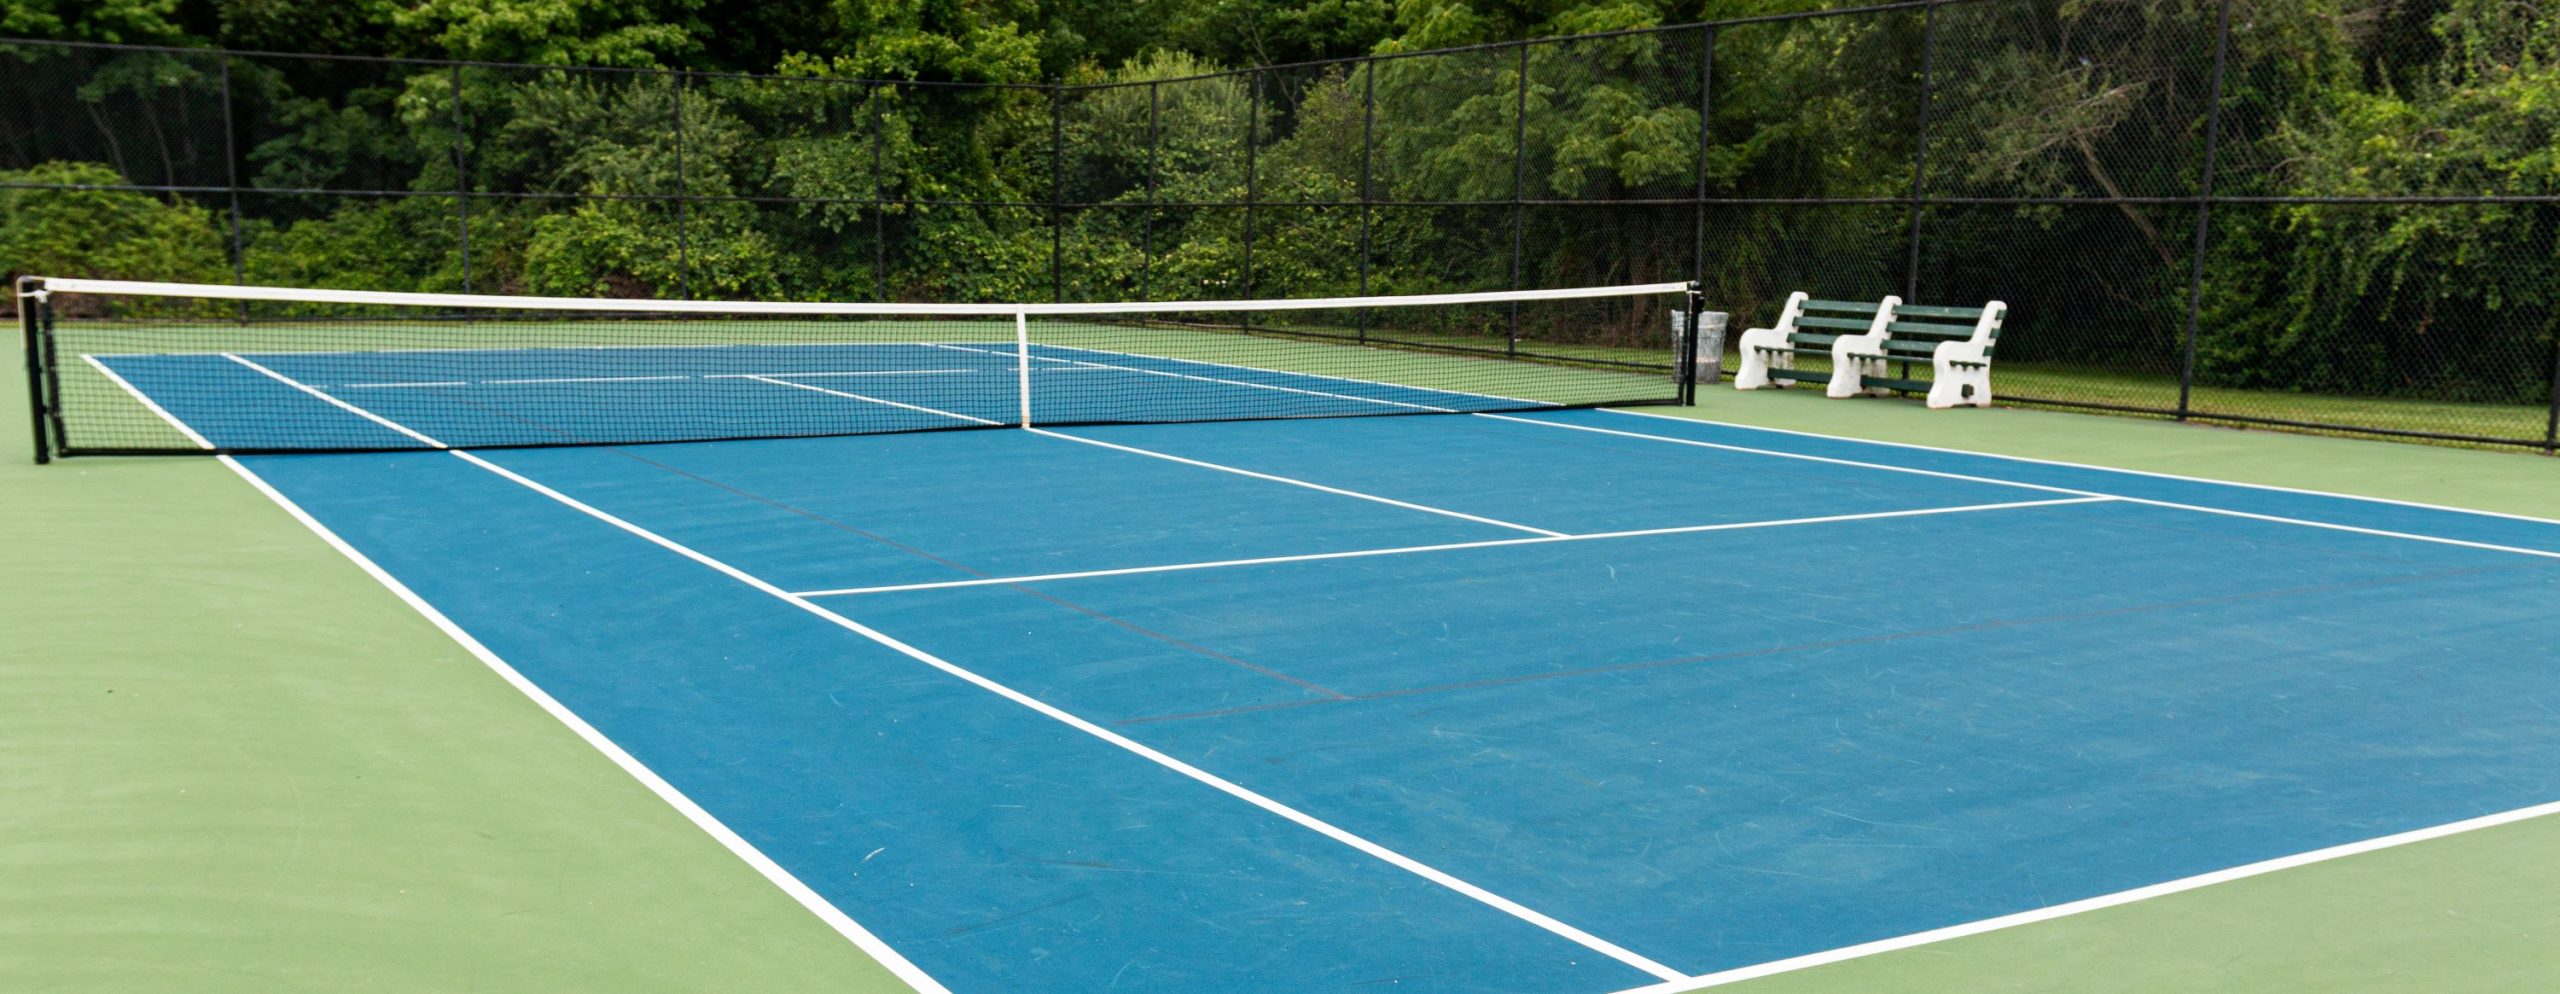
 The tennis game has been played for many years, from the 12th century until today. It’s a racket sport where two or four players strike a ball over a net. The quality of this game highly depends on the surface you play on, which is the tennis court. It begs the question: how should you construct this court for quality games?
Here’s a guide to tennis court construction:
1. Draw A Layout
Proper planning before project execution is essential. It guides the entire process while giving you insight into the scope of work. Also, prior planning makes execution much faster than planning as you execute. Therefore, start by drawing a layout of your tennis court.
There are tennis court dimensions you should follow for the process. These dimensions ensure the tennis game is as competitive as it should be. The court needs to be rectangular, with 78 feet as the length and 36 feet as the width for a double court (27 feet for a single court). The other dimensions to be keen on are the base, side, and center lines.
Even as you follow the standard tennis court dimensions, it’s good to acknowledge that you might not have enough space to fit the standard size. If this is you, you can proportionally resize your court to fit your space. How?
The standard tennis court sizes 2808 square footage. Assume your space is 1800 square footage. Divide the two—you’ll get 1.56. Therefore, the standard court is 1.56 times bigger than yours. Use this difference (1.5) in resizing all the measurements so you get a tennis court that fits in your space while still functional.
2. Find Suitable Ground
The ground on which construction of your tennis court will be is essential in determining its longevity. The main aspects to check are the soil, drainage, and water table levels.
The soil should be stable to avoid differential settlement over time when the tennis court starts to sink. It’d help to seek expert services from a sport court resurfacing company. They’ll advise if your chosen location is ideal for a tennis court.
Regarding drainage, ensure it’s adequate to prevent water from seeping into your tennis court. The water table level should be low, especially if you plan on using grass as your court’s surface. Here, a high-water table level will bring water to the top of your court, making it challenging for you to use.
3. Prepare The Ground
After finding a suitable location for the construction of your tennis court, it’s time to prepare it. Cut away any trees and shrubs in the area and proceed to excavate it, approximately 100mm deep.
Ensure you level the ground to achieve a flat surface; compact it to accomplish this. Next, you want to grade the area. Grading aids in enhancing drainage. You need three to four layers of grading before pouring in the surface. The first layer should be of four-inch filter stones, followed by a six-inch one and a two-inch one. The bottom layer should be thicker than the following layers. It’s good to point out that you can opt for aggregate over filter stones. All you must do is ensure the pieces are large enough to allow drainage but not too small for compaction.
The aggregate layers form the foundation; ensure it’s approximately 60 inches thick. Follow the foundation by pouring in the surface. It could be clay, concrete, or your preferred surface. See to it that the surface is thick to reduce the chances of quick wear and tear. However, it should be soft enough to allow you and other players to play easily.
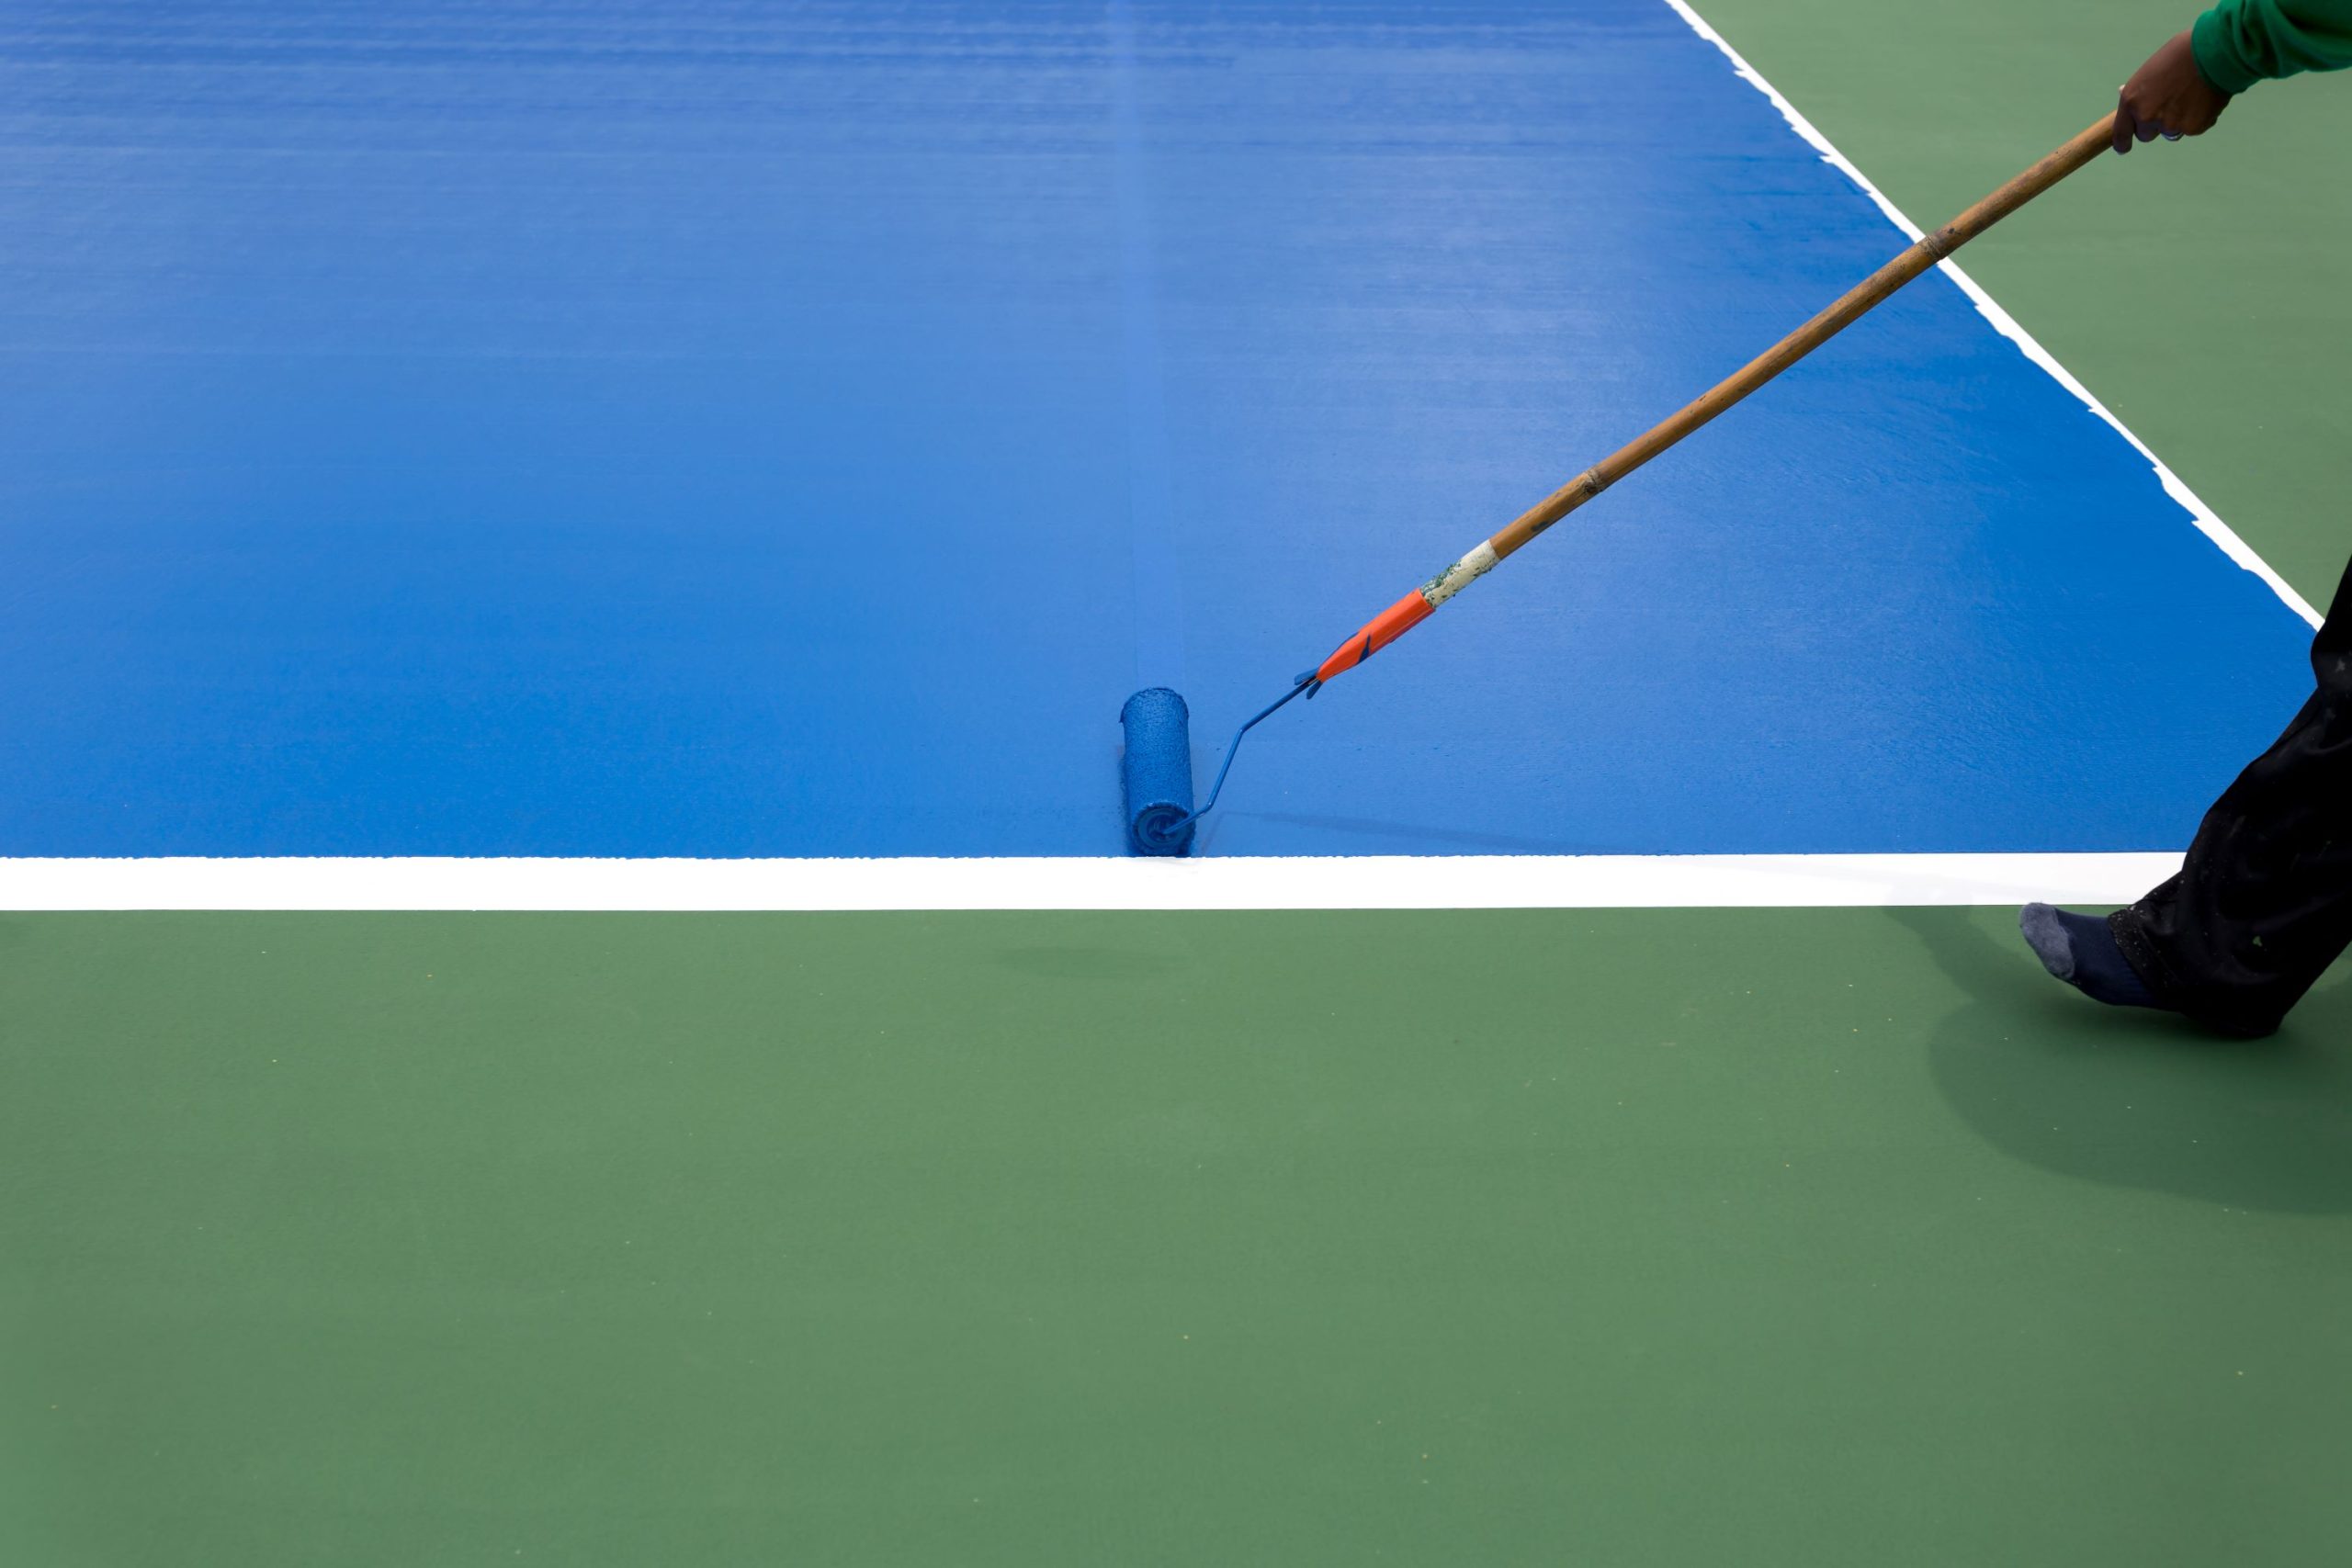
4. Mark Out The Court
Marking out the court is one of the final stages of your project. As per your design layout, mark the surface you’ve prepared using a chalk line. The chalk line gives room for errors as you map out your tennis court.
You also want to use a surveyor’s measuring tape to get the dimensions right. Proceed to trace the final chalk line marks with white paint once you’re sure the actual court is as on paper. A wheeled line painter will come in handy; ensure you maintain a straight line and that the markings are at least two inches wide.
5. Set Up The Accessories
Setting up the tennis court’s accessories is the final step to take. These are posts, pipe anchors, and the net.
Dig out the ground at the starting points of your center line, approximately 18 inches down. It’s here you’ll place your posts for holding the net, ensuring they’re 42 inches apart. Insert the posts, ensuring you center them in the holes. Proceed to pour in concrete to keep the posts in place. Once the concrete has set, it’s time to hang the net.
The net should be such that its center is 36 inches high, with the ends 39 to 42 inches high.
Conclusion
Tennis court construction is easy as long as you have the right resources. From the discussion, these resources are the tools and standard guidelines for tennis court construction. Therefore, while embarking on your tennis court project, armor yourself with these, adding insight from the discussion above.