For concrete to be usable, it needs to be mixed with water that starts off the chemical reaction that allows the concrete to cure. Concrete mixing may seem like one of the simplest and straightforward jobs but it is one of the easiest to get wrong. Below are the steps for concrete mixing that guarantee the best results;
-
The step-up
Ensure you have prepared the location where the concrete will cure before mixing any concrete. Although this may seem obvious, it is important to prepare in advance to avoid last-minute misses. Create enough space and have a good working area to mix and pour the concrete. Finally, have your protective gear on including eye protection, dust mask, and gloves.
Have your cement, gravel and sand stacked nearby ready for mixing. A good general rule is to mix 1 portion of cement to 2 portions of sand and 3 of gravel by volume.
-
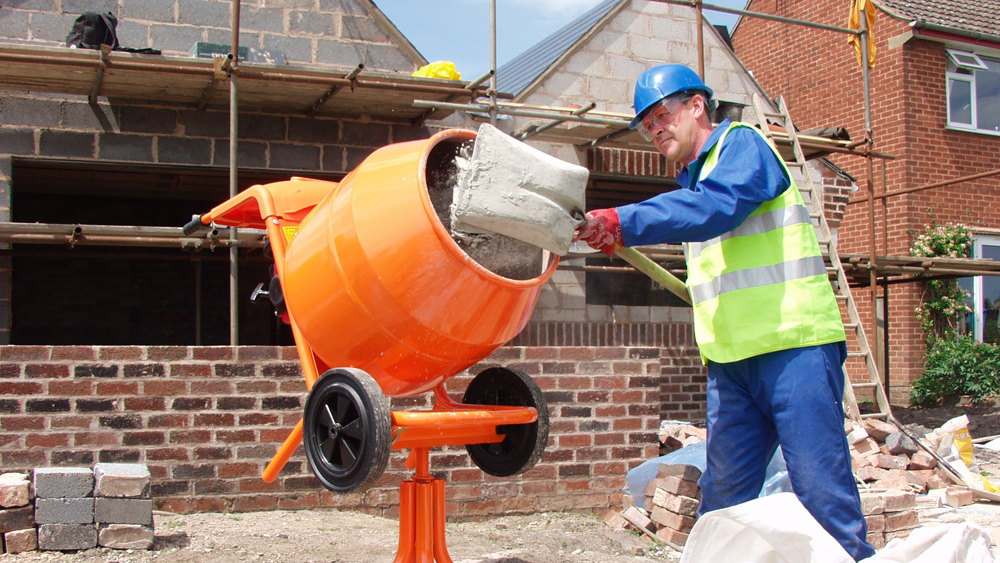
Mix the water
Once you have mixed the three form a crater in the pile and get ready to add the water. Keep adding water as you mix the ingredients. The mix should not be too stiff neither too saturated with water. You want it workable so that it sets easily.
The amount of water added to the concrete is called the cement/water ratio. Adding water to the concrete makes it easy to mix, work with, and pour. However, the addition of water to concrete also lowers its strength upon curing. The hydration creates interlocking crystals and the addition of more water moves the crystals further apart. On the other hand, a lower cement/water ratio creates strong concrete as hydration crystals are held together.
-
Add colors and additives
There are several things that can be added to the concrete to achieve different goals. One of those things are color, designed to give the final products a certain look. Adding colors can be one of the ways to give your concrete a unique look and make it blend with the surrounding.
To add color, concrete dyes are always added to the concrete mix during preparation. On the other hand, concrete stains come in liquid form and are always brushed to the cured concrete. In addition to dyes and stains, other items that are added to concrete include additives like accelerators/retarders, air entrains, and water reducers.
-
Add Reinforcements
Although concrete is strong, reinforcement is needed to prevent it from breaking when under pressure or compression. Since it is not flexible, concrete may crumble when subjected to pressure and tension. In addition, concrete may lose it force when a stretching force is applied.
Reinforcements added to concrete include steel. Steel has high tensile strength and makes concrete able to withstand stretching force. Steel is also easy to shape and is readily available that’s why it is used as a common reinforcement.
-
Pouring
Pouring the concrete correctly is just as important as mixing right. The hardest part of concrete pouring is ensuring that the concrete gets to all intended areas of the mold or form. For small molds, you may need to scoop the concrete mix into the mold to ensure it gets to all corners.
6. Vibration
Vibration is real magic to ensuring that concrete gets to all corners of the mold. In addition to spreading concrete evenly, it also helps get rid of air bubbles that may create air airspaces when the concrete dries up. Powerful corded immersion vibrators are used at construction sites where large concrete slabs are poured. For small concrete mixings, anything that disturbs the wet concrete can be used as a vibrator. This can include shaking or just tapping the mold. Vibrating the mold creates a smooth surface and expels air from the wet concrete.
-
Covering the wet concrete
The poured concrete needs to be covered well to maintain its moisture content as it cures. If the water is allowed to evaporate too fast, the hydration process may not have enough time to react with the water as it mixes in. Although uncovered concrete will still dry and harden, it may have brittle corners and edges.