Nobody wants lifeless a looking house. Adding a tactile element to a hard surface creates a softness and a feeling of nostalgia and individuality from subtle surface texture to richly embossed tiles, texture is defining the way in 2018.
For eye-catching feature walls, stylish bathroom tiling or kitchen splash backs, they will undoubtedly add character. A variety of collections have been designed specifically to allow for continuity of size and finish from inside to out and there be also plenty of choice.
Laying tiles on the floor is not a hard task as you may think one can actually perform the task without involving a professional .with the right tools and careful follow of instructions, you can save the money allocated for the professional.
The tools required for the procedure are: gloves, grout float, knee pads, notched trowel, wet tile saw, tile, concrete board, tile mortar, tile grout, tile spacers
The following is the procedure to follow when tiling your house:
-
Clean the floor
Start by cleaning the floor of dust and debris. This ensures the tiled surface will be level. Measure the floor, using a chalk or pencil snap line down the middle of the floor’s longest dimension. Mark a second line across the middle of the floor’s shortest dimension that way you will be dividing the room into quadrants, which will help you begin tiling from the center point using your lines as a guide.
-
Check your layout
Do a dry run to check on your layout and make any necessary adjustments this is done by laying out enough tiles along your lines to reach the walls in each direction. Use plastic spacers between the tiles. If the rows end with full tiles close to the walls, you may be able to avoid making any cuts by adjusting the spacing slightly.
If the sub-flooring is in decent shape the tile can be laid on top with a little sanding. If not, then use backer board. It creates a uniform surface and will protect the tiles from damage.
-
Lay the tile
It is important to lay the tile in a checkerboard pattern running parallel to the walls, not at an angle, so you will have a clean line at the most visible spot. Use a notched trowel to spread the adhesive over the floor for mosaics and smaller tiles (less than 8 inches), use a trowel with 1/4-inch notches. Larger tiles require a 3/8- to 1/2-inch notch, depending on the size and thickness of the tile. Start at your layout lines and press the mastic against the floor for a good bond, then set the trowel on edge and rake the mastic to create ridges equal to the notch depth.
Some mastics have strong, noxious fumes and may be volatile, so be sure to extinguish any pilot lights and provide adequate ventilation to the work area.
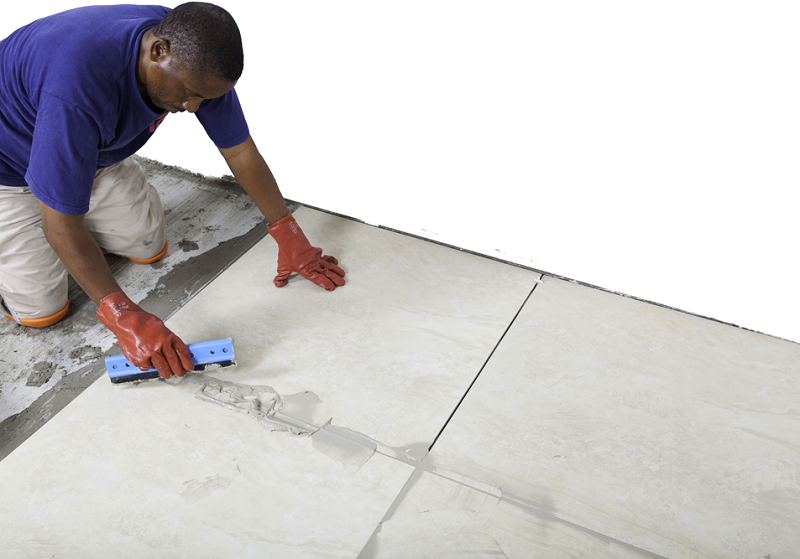
After the last tile is put down, allow at least 12 hours of dry time before walking on the floor.
Comments
One response to “3 major steps to follow when tiling your house”
Is a great idea of nowing about tiling because I want to become a great tiling