Whether you are buying a new home, or just making improvements, siding on your house can have a big effect on the overall look and feel of your home. It is always recommended for homeowners who like the look of siding, but don’t want the expense that accompanies cedar and concrete composite products. It is also a favorable for homeowners who don’t want the hassle of repainting the outside of their house periodically.
The siding comes in textured or smooth, high gloss or low gloss finishes. It also comes in a wide array of colors, some with grain-like patterns which closely resemble real wood.
In terms of tools, you will need: a folding ruler, a metal square, a claw hammer, a snap-lock punch, tin snips, a power saw, a chalk line, a measuring tape, a level, a utility knife, a pliers, a nail slot punch, a carpenter’s saw, a hacksaw, a stepladder, sawhorses and a pry bar.
For materials, you will need: lengths of J-channel, flashing, building paper, corrosion-resistant nails and enough vinyl siding to cover your home. You will also need vinyl corners and trim for windows and doors, as well as a termination trim for where you meet other surfaces such as soffits and masonry work.
Procedure
Installing siding can help to reduce the amount of maintenance you have to do to the outside of your house. If you decide to install siding yourself, it’s important to be as prepared as possible and to have a clear idea of what the installation process involves.
Siding your own home is great, but sometimes the smallest of miscalculations can lead to serious problems. You must find the right person for the job when everything else fails. However, make sure you do your research and equip yourself with all the tools you need to complete it. One great way to learn more about siding is to speak to people who are experts in this industry. If you are looking for a siding contractor nj? Proven Roofing will help you protect your home and its contents so you can sit back and relax comfortably.
The following are proper steps to follow:
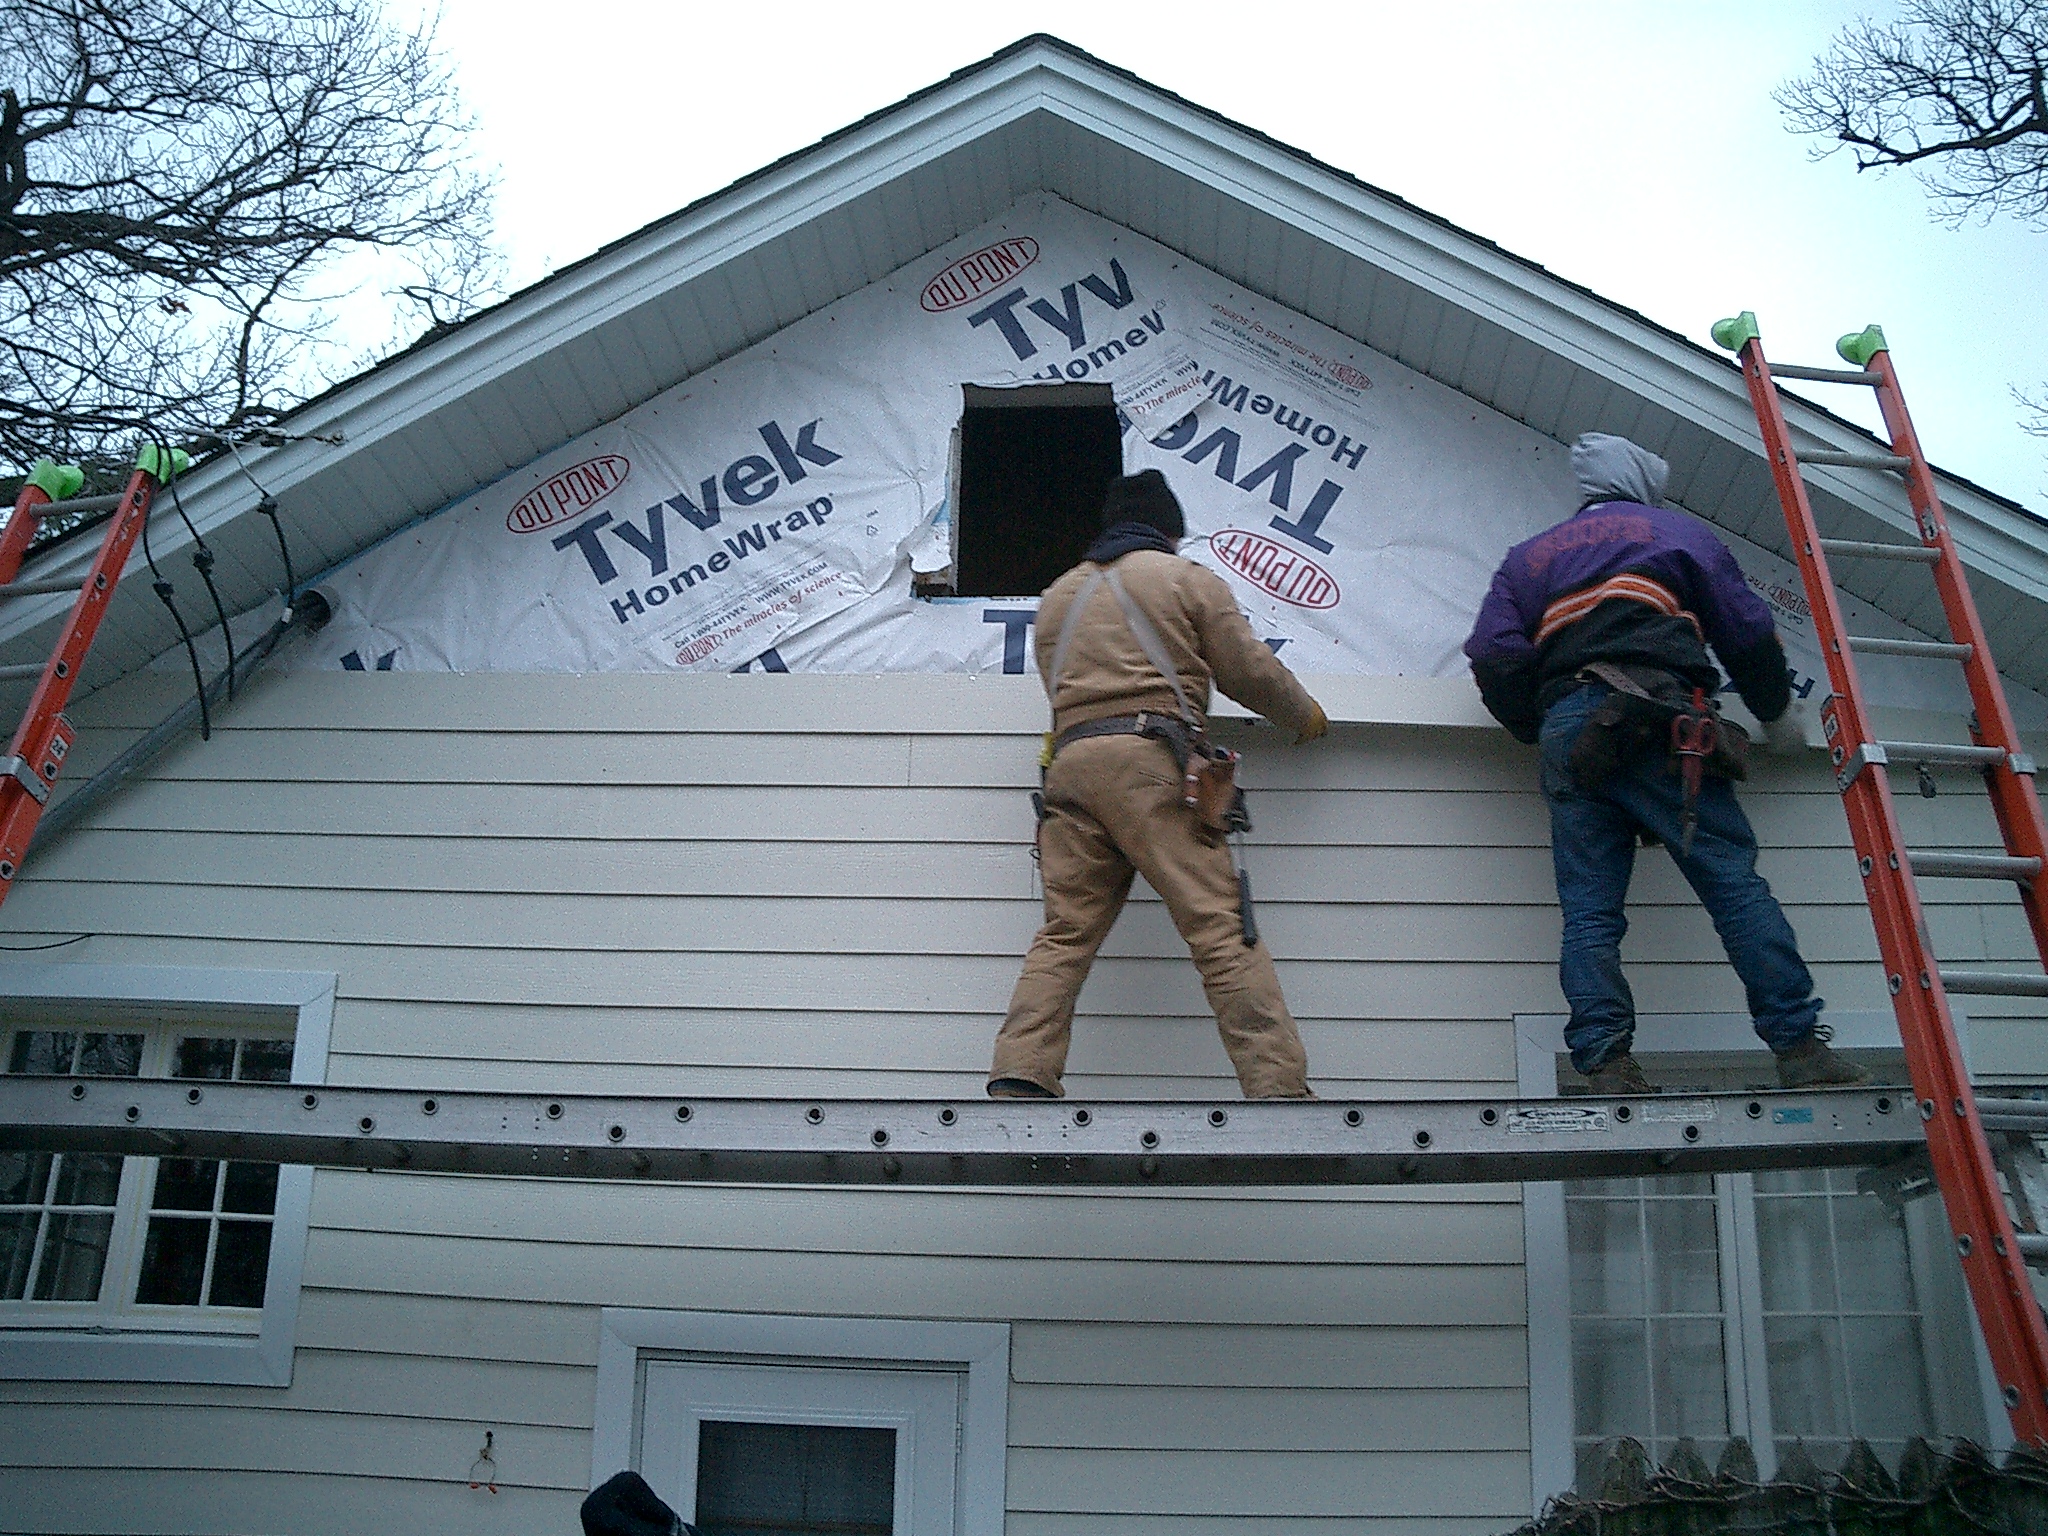
1.Measure soffit pieces
Measure and cut the soffit pieces. Vinyl siding usually comes in 12-foot (3.66-meter) lengths. Therefore, you will need to cut these long pieces of siding to fit the measurements of your soffit. The soffit pieces should measure 1/4 inch shorter than the actual length of the soffit. This gap allows for the expansion of vinyl siding in warm weather.
2.Install corner posts
Install 1/2-inch foam sheathing strips on both sides of each corner, then install your corner siding pieces to these strips. The corner posts should run from 3⁄4 inch below the bottom of the starter strip to just beneath the eaves, after the soffit pieces have been installed.
3.Siding the Soffit and Fascia Area
Nail lengths of J-channel against the inner edge of the fascia board. This channel conceals the cut edges of the soffit lengths as they meet the fascia. All siding and soffit pieces have nail slots. Nail at the slot centers to allow for expansion and hold the heads out. The J-channel will conceal the cut edges of the soffit lengths and will provide a watertight seal.
4.Install the wall siding
Before you begin to install the siding apply any necessary insulation materials to the walls. Measure and cut the lengths of siding, so that each panel ends 1/4 inch shy of the vertical trim pieces, to allow expansion. If you are installing the siding in freezing conditions, you should leave 3⁄8 inch instead.
Slide the bottom row of panels into place by hooking the bottom lip of each panel under the starting strip. Secure the panels with a nail every 16 inches or so and center the nail in slot and leave 1/16 of the nail head above the vinyl siding, to allow for movement and expansion.
5.Overlap adjoining panels
When joining two lengths of siding together, overlap them by about 1 inch. Choose the side that will be least obvious from the front or most used area of your house.For example, if your driveway is located to the right of your house, then a right over left overlap will be least noticeable.
When you get to a window, you will need to cut sections from the panels directly above and below it to fit. Measure the width of the piece by holding the length of siding against the window and marking the edge points on the panel with a pencil. Also measure the height of the piece by butting a scrap piece of siding beneath the window and marking the necessary height. Transfer this measurement onto the piece of siding and install the cut pieces of siding above and below the windows, as normal.
Comments
3 responses to “5 steps to siding your own house”
Been thinking about doing starting siding as a side hobby for $$…this article has helped me push myself
Remember, practice makes perfect! And beware, if you tell your relatives you sided your own house, you’ll be getting offers and questions about it for sure
Very easy to read instructions and detailed process. Thanks for writing this!