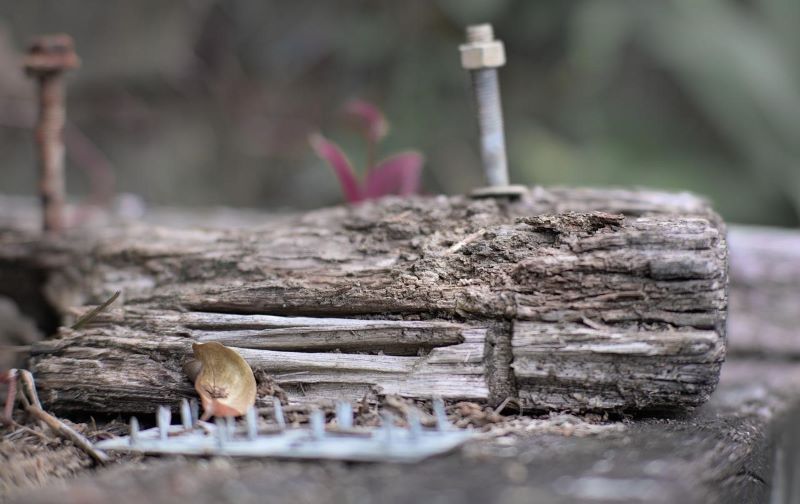
Dry rot is a common problem that can cause significant damage to wooden structures. Few issues pose as significant a threat to the structural integrity of homes and properties as this silent destroyer. From weakening load-bearing beams to compromising the aesthetics of interior finishes, the consequences of unchecked dry rot can be both extensive and costly.
Where Dry Rot Thrives
Dry rot, a pervasive fungal decay, thrives in environments where moisture levels exceed what is typical for wood. Whether lurking beneath the surface of exterior siding or concealed within the framework of your home, its presence can go unnoticed until the damage becomes severe. Left untreated, dry rot can compromise the stability of wooden structures, leading to costly repairs and potentially compromising the safety of occupants.
Combatting Dry Rot
If left untreated, dry rot can weaken the wood and compromise the structural integrity of your home or property. From identifying the telltale signs of dry rot to knowing when to seek out Everett dry rot repair, here are the knowledge and insights you need to safeguard your home against further deterioration.
Step 1: Identify the Problem
The first step in repairing dry rot is to identify the affected areas. Look for signs of decay, such as discolored or crumbly wood, a musty odor, or the presence of fungal growth. Pay close attention to areas that are exposed to moisture, such as windowsills, door frames, and areas around plumbing fixtures.
Step 2: Remove the Affected Wood
Once you have identified the areas affected by dry rot, use a chisel or screwdriver to carefully remove any soft or crumbling wood. Be sure to wear protective gloves and a mask to avoid inhaling any potentially harmful spores.
Step 3: Treat the Remaining Wood
After removing the damaged wood, it’s crucial to treat the remaining wood to prevent further decay. Apply a wood preservative or fungicide to the surrounding areas to kill any remaining fungi and prevent future growth. Follow the manufacturer’s instructions for application and ensure that the product is specifically designed to treat dry rot.
Step 4: Replace the Damaged Wood
Once the wood has been treated, it’s time to replace the damaged sections. Measure the dimensions of the removed wood and cut a replacement piece to fit. Use a waterproof adhesive or wood glue to secure the new piece in place. If necessary, use screws or nails to reinforce the bond.
Step 5: Address the Source of Moisture
Dry rot thrives in moist environments, so it’s essential to address the source of moisture to prevent future outbreaks. Inspect the area for any leaks or sources of water intrusion and repair them promptly. Improve ventilation in the affected area to promote airflow and reduce humidity.
Step 6: Monitor and Maintain
After completing the repairs, it’s important to monitor the treated areas for any signs of recurring dry rot. Regularly inspect the wood for any changes in color, texture, or odor. If you notice any new signs of decay, take immediate action to prevent further damage.
Conclusion
Repairing dry rot in wood is a crucial step in maintaining the structural integrity of your home or property. By following these steps and addressing the underlying causes of moisture, you can effectively repair dry rot and prevent future outbreaks. Remember to prioritize regular inspections and maintenance to ensure the long-term health of your wooden structures.

