
Hello, DIY enthusiasts!
We’ve all been there, standing in front of that worn-out, chipped wall that’s lost its glamor and no longer exuded the energy it once did. It’s staring at us, pleading for a makeover, and you might wonder, how do I bring this wall back to life?
If that’s the case, you’re in the right place. Today, we’re going to teach an old wall new tricks with our ultimate guide on how to repaint a wall after the paints have chipped. So, gather your paint, brushes, roll up your sleeves, and let’s dive right in!
Step 1: Prep the Wall
This first step is like getting your wall ready for a swanky event – it’s all about the prep! Start by using a paint scraper to remove the remaining spray paint from brick or stones used on the wall until the surface is as smooth as possible.
Remember, the goal is to create a blank canvas ready for your artistic input. Oh, and don’t forget to wear safety goggles; we want to keep those eyes safe!
Step 2: Clean it Up
Now, take a damp cloth or sponge and gently clean the wall to remove any dust or residue that might be hanging out from your scraping session.
This ensures that your fresh coat of paint will stick properly and won’t mix with any unwanted elements. Once the wall is clean, allow it to dry thoroughly.
Step 3: Bring on the Sandpaper
The next step is to lightly sand the surface before repainting the wall. This might seem a little over-the-top, but believe me; this makes a difference in the final result. By sanding, we’re ensuring the new paint has a roughed-up surface to stick to, leading to a smoother and longer-lasting finish.
Step 4: Primetime with Primer
Using a primer before painting is like having a solid foundation before building a house. It’ll ensure your paint has something to latch onto, resulting in a vibrant, long-lasting finish. So, apply a coat of primer, and allow it to dry completely.
Step 5: Let’s Paint!
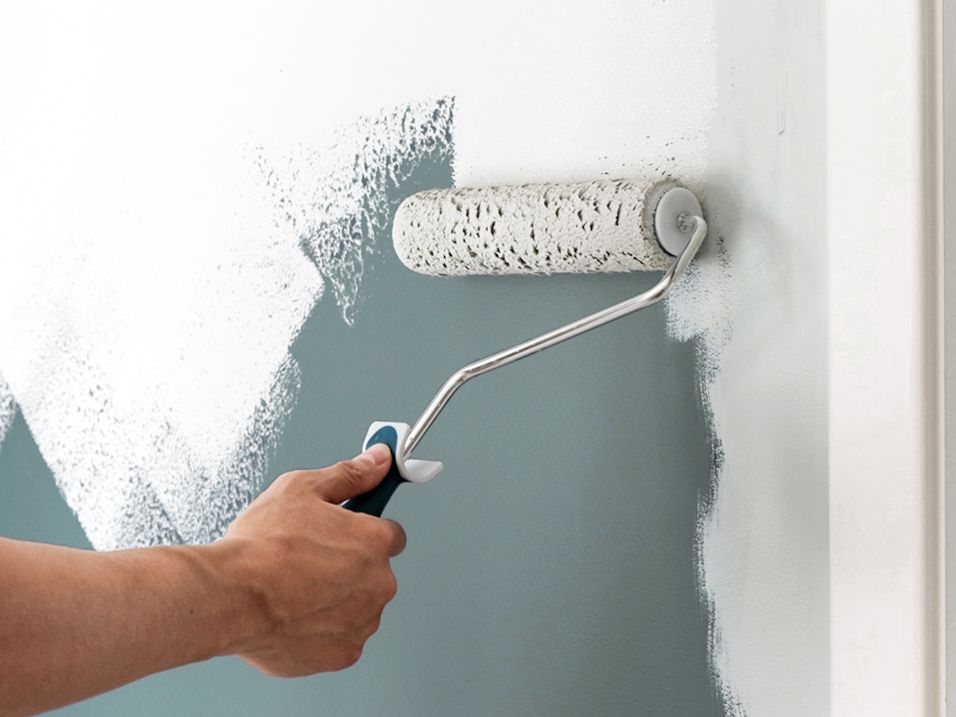
The stage is set; your wall is prepped, primed, and ready for the star of the show – the paint. Choose high-quality paint that will make your wall look its best.
Start by cutting in around the edges with a brush, then fill in the rest using a roller for an even application. Usually, two coats will give you the perfect finish, but make sure the first one is dry before you add the second.
Step 6: Sit Back and Admire
That’s it! You’ve successfully transformed your chipped, weary wall into a work of art. Once everything’s dry, it’s time to sit back, relax, and enjoy the fruits of your labor.
Repainting a chipped wall may seem daunting, but with these steps, you’ll find it’s a walk in the park. Plus, there’s something incredibly satisfying about bringing new life to your space, right? So, the next time your wall is looking a bit under the weather, you’ll know exactly what to do.
Remember, every chip in the wall tells a story, but sometimes, it’s okay to start a new chapter. Happy painting!
Conclusion.
Well, dear readers, we’ve been on quite a journey, right? We started with a chipped, worn-out wall and, step by step, turned it into something spectacular.
Our adventure began with the preparation phase, where we bid farewell to the old, chipped paint, leaving us with a smooth canvas.
We then moved on to cleaning, a crucial step to clear away dust and debris that could play spoilsport during our painting process. Next came sanding – a little elbow grease to ensure the new paint would have a surface it could easily adhere to, making for a smooth, enduring finish.
We didn’t just jump right into the painting, though. We laid the groundwork with a layer of primer first. This hidden hero makes the paint stick better, showcasing its true colors and vibrancy.
And then, the main event: the painting. We took high-quality paint and, with a brush and roller, brought life back to our space.
But the best part of all this? It’s the end when you step back and admire your work – your newly refreshed wall. It’s a testament to the fact that with a little patience, effort, and a can of paint, you can breathe new life into any space.