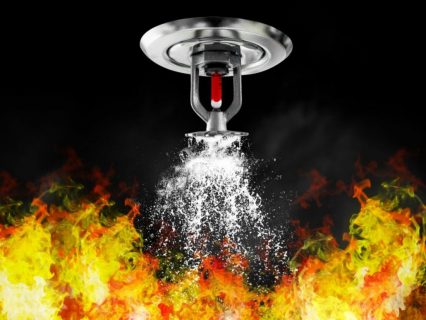
Are you considering the installation of a fire sprinkler system? Residential fire sprinklers are increasing in popularity, given their role in controlling residential fires and reducing property damage. Most importantly, these systems provide household residents with an opportunity to escape from their homes in the event of a fire.
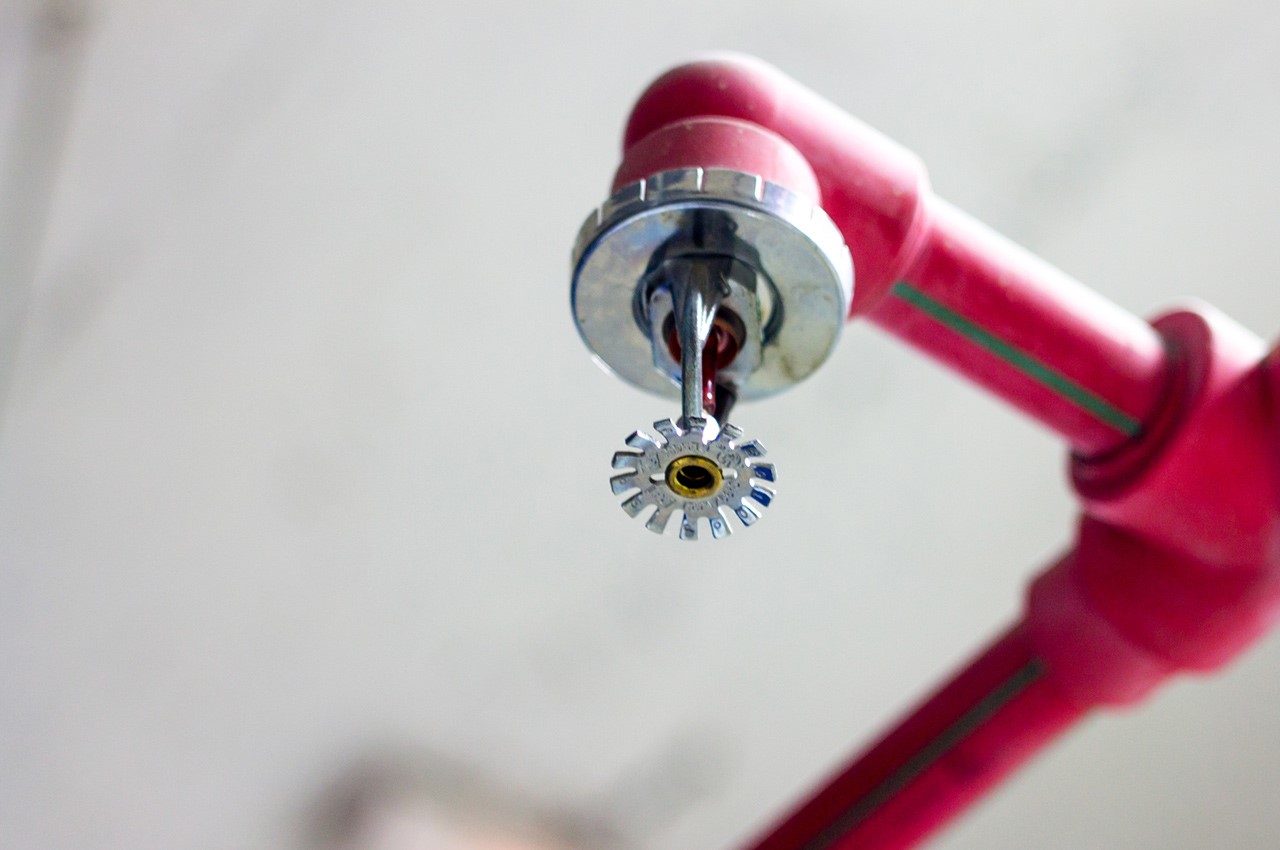
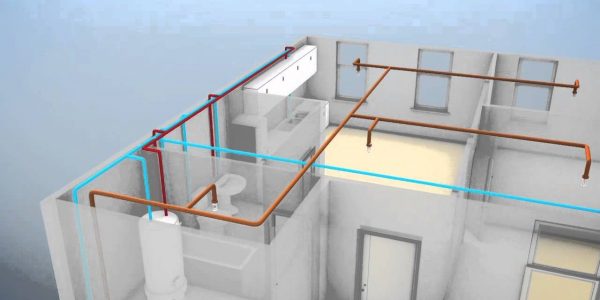
Fire sprinkler systems are based on a piping network that runs either vertically or horizontally. There are supposed to be enough sprinkler heads to cover the entire residential area. The temperature around the heads should reach a certain limit of at least 135˚F to stimulate the water to rush out.
The following fire sprinkler installation guide explains the necessary steps for installing such a system.
Choose a type
The inceptive step towards installing a fire sprinkler system in Glendale, California, is choosing the right type for your home. There are four types of systems to choose from, wet, dry, pre-action, and deluge. For instance, wet fire sprinklers are the most traditional model for homes, which dispel waters in an attempt to reduce flames. Each head is triggered separately and gets activated by sensing heat.
Dry sprinkler systems, on the other hand, store no water in the pipes. On the contrary, they use pressurized air and nitrogen for this purpose. Upon sensing heat, the system becomes activated, and water starts flowing inside the pipes to suppress the flames. This solution is the most appropriate in regions with cold climates where the risk of pipes bursting is indeed high.
Pre-action fire sprinklers involve a process of two steps, which allows them to be shut down in the event of a false alarm. Firstly, the water fills the pipes, after which each head is separately activated. This system, however, is more appropriate for industrial properties. The same goes for the deluge system, which doesn’t include a heat sensor in every single sprinkler. Instead, it’s activated by an external sensor, which dispels water from all heads at the same time.
Check the water supply pressure
Even though some homeowners are interested in installing a fire sprinkler system by themselves, this installation is best performed by a professional. If you happen to be knowledgeable in plumbing and electrical systems, it’s paramount to follow the instructions provided by the manufacturer.
After making the best choice of fire sprinklers, you’re supposed to check the pressure of your city water supply, which should be at least 100 PSI. Unless the pressure meets this requirement, you won’t have another alternative but to purchase a pump or a water storage tank. Check out these helpful tips for measuring water pressure.
Install basement piping and sprinkler heads
The next tip that residents of Glendale, California, need to follow is the installation of piping in the basement. The job of the piping will be to deliver water from the basement supply to the sprinkler heads on the first floor across the ceiling. The pipes are made of chlorinated polyvinyl chloride (CPVC), referring to a thermoplastic material.
Moreover, this material is almost identical to PVC; only it’s more resistant to heat. The leading difference between these materials is the temperature range they are capable of withstanding. For example, CPVC can resist temperatures up to 200˚F, whereas PVC can withstand temperatures up to 140˚F. Naturally, CPVC is a more suitable material, as it’s less prone to melting when exposed to flames.
In addition, the pipes should be joined with pipe cement. They can be attached to ceiling studs with the help of galvanized pipe straps. After doing so, start with the installation of the sprinkler heads in the basement area. Since they can be easily bumped or set off, homeowners are advised to install protective cages around them. This is absolutely significant in basement areas where the ceiling is too low.
Make the necessary cutouts
Once you complete the job in the basement, it’s time to prepare the first floor for the installation of such a system. Your job while performing this step is to hide the piping in the wall by cutting out sections in the drywall. Afterward, you are supposed to drill a hole through the wall bottom and the flooring into the basement.
Furthermore, homeowners are supposed to insert a pipe through the drilled hole so as to connect the first floor to the line in the basement. Once again, make sure to use pipe straps to secure the piping in the wall’s interior.
It’s of tremendous importance for homeowners to be cautious while cutting through the wall in order to avoid cutting electrical wiring. Glendale residents who don’t wish to make any cuts into the first-floor ceiling can opt for another solution, which is mounting the fire sprinklers high on the walls.
Consider the installation of bedroom sprinklers
Homeowners whose houses have second or third floors should consider installing additional piping in these areas. Instead of making holes in the walls, you can run the pipes through your closet. Nevertheless, the material of the piping is supposed to be metal instead of CPVC.
A hole in the bottom of the closet is supposed to be drilled to connect the piping to the one on the lower floor. From the second level, the pipes should be run to the attic and then routed through the ceiling of every bedroom where household residents sleep. In order to hide the heads, remember to install a cap on each one.
Finalize the procedure
The final steps of the procedure include insulating the pipes, which isn’t mandatory if the attic is already insulated. Otherwise, you will have to insulate the piping to prevent the water from freezing at cold temperatures. Also, you are expected to patch up every hole in the drywall. Once you have everything sealed, it’s high time to test the system for leaks. If the system runs normally, you shouldn’t be worried about residential fires anymore.
To sum up
Fire sprinklers are essential in preventing serious fire consequences.
Investing in such a system is worth every cent!


