
Installing ceiling drywall is a very simple process, but can be slightly challenging when working alone. By making a few minor adjustments, almost anyone can accomplish this task on their own. Here are a few steps to help you along as you learn how to install ceiling drywall.
1.Install furring strips
Install furring strips to the framing in order to create a flat, even surface for drywall installation around these obstacles. Mark the wall studs, placement of light fixtures and electrical boxes to indicate the locations of the ceiling joists for reference during the installation process.
Build a T-Brace, if necessary. This will provide the leverage and support needed to raise the drywall panels to the ceiling when you’re working alone. Use a 2 foot (60.96 cm) piece of 1 by 4 (2.54 by 10.16 cm) and nail it to a 2 by 4 (5.08 by 10.16 cm) that is long enough to be one foot higher than the length from the floor to the ceiling.
2.Raise the sheet to the ceiling
Using your T-brace, start in the corner, where you can use a full sheet and raise the first sheet to the ceiling so you can get an idea of the placement across the joists. Make sure that the tapered edges of the sheet are facing the floor .The tapered edges are designed to make the process of taping and muddling easier.
Affix the drywall sheets permanently to the ceiling joists using either nails or screws. The heads of the fasteners you choose should come in contact with the paper facing, sinking in slightly without breaking through the paper.
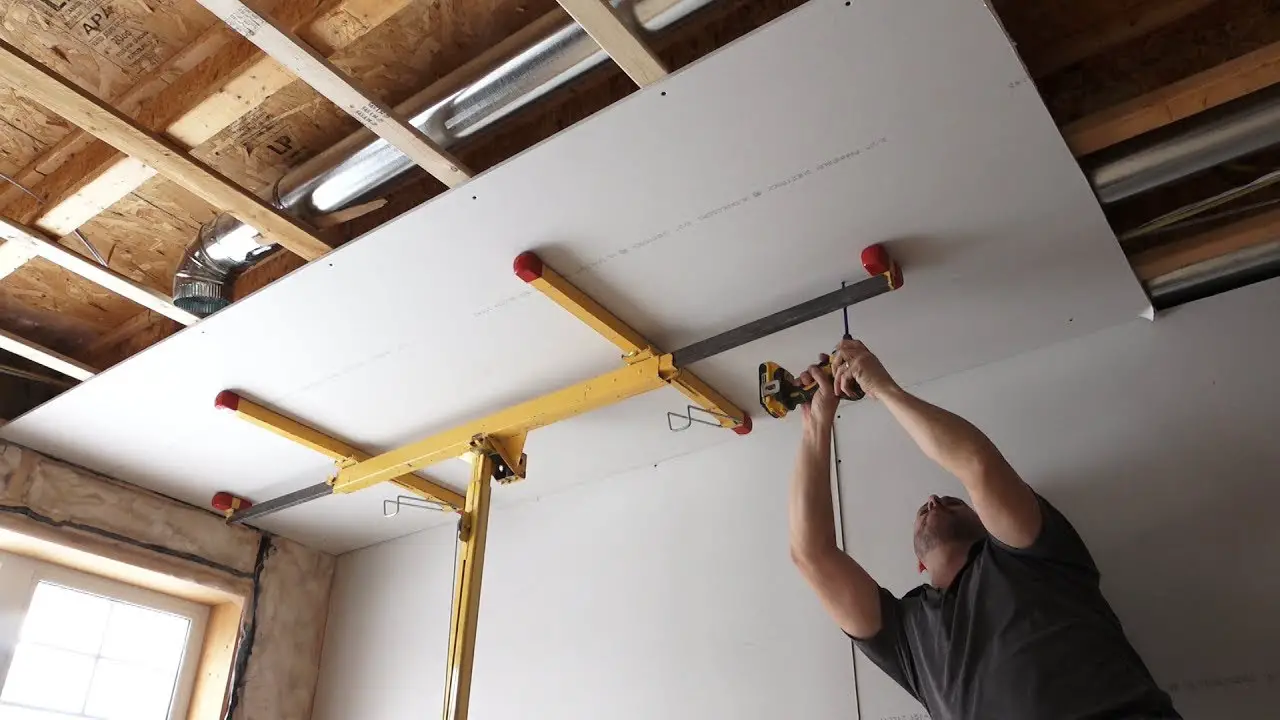
3.Drive the fasteners in
Drive the fasteners in 3 inches (0.95 cm) away from the edges of each sheet, and space them 7 inches (17.78 cm) apart along the perimeter. Along the interior joist, install the fasteners at about 12 inch (30.48 cm) increments.
Start the second row with a half sheet of drywall in order to stagger the seams. This will enforce the stability. Measure and mark the cut line at the vertical midpoint of the drywall sheet. Use a straightedge to help guide your utility knife as you cut. Tip the panel off of the floor or table at a slight angle, then push it down to break it in half. Use the utility knife to cut through the paper backing.
4.Trim the dry walls
Trim the dry wall’s length by first marking the line with chalk. Score the line with the knife first, then cut deeper with the second pass. Install panels over vents or light fixtures loosely at first. Use a rotary drill to cut out a border for the fixture or vent, and then fully attach the board. Complete the entire ceiling installation before moving on to the walls.
Very informative article! It’s a bit tedious but when we drive our fasteners in here We don’t fully commit to driving the screw in all the way with a screw gun. The screw is driven just so far and then followed with a screwdriver and hand tighten them the rest of the way. It helps from leaving dents from driving the screws in too far.
Good article with an excellent way of presentation. Keep it up. Thanks for sharing.