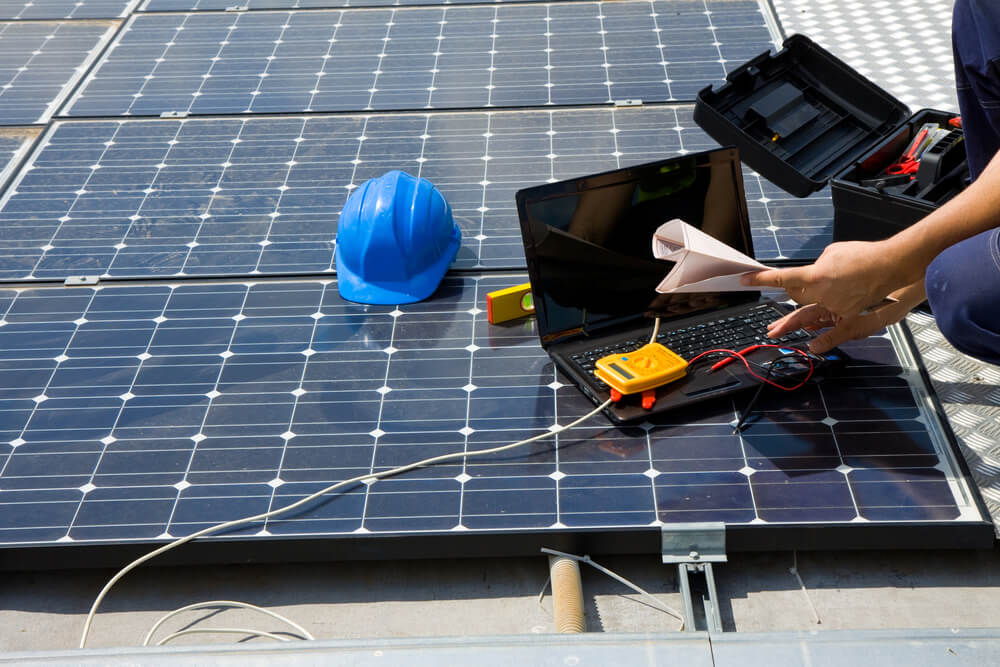
Solar energy is a renewable, green energy choice that is beneficial for both the environment and the private economy. With the sun being an inexhaustible commodity, you are not likely to run out of energy. With the ever-advancing technology, solar energy is better and affordable, making it grow rapidly more than other renewable sources. However, it is one thing to buy a solar panel and another to install it. If you intend to go solar, here are five simple steps for solar panel installation.
Get the Ideal Location for your Solar Panel
It is essential to pick the right location for solar panel installation to get the most out of them. The angle of your roof plays a big role in solar orientation. Flat or steep roofs need additional effort for excellent results. However, a roof that meets all installation procedures doesn’t need particular equipment pieces, making it more affordable to install.
If the solar is to be mounted on the roof-top, its size depends on the pitches that meet solar panel needs. Solar panel’s productivity also depends on the direction it faces; south is the best since the sun rises in the east and sets in the west. If the southern angle of your roof is not favorable for your solar panel, try the pitches on the east or west of your roof.
Build a Solar Platform
If you are wondering if you will spend half of your day on the top of your roof, you are wrong. A solar platform can be built on the ground and then elevated into place, certifying absolute safety at all times. The solar platform offers you a guaranteed perfectly guarded work area in a few minutes.
It is crucial to pick a fitting platform for your solar panel, and it can be either flat or tilted to the sun. Remember to use a full on-site risk appraisal because, in some situations, the solar platform must be tied into the structure.
Mount the Solar Panel
Most solar panel packages have mounting brackets, which are normally attached to your platforms. However, if your solar panel package does not have mounting brackets, you can contact your dealer or purchase them elsewhere.
Place your mount four feet apart on your solar platform. Be careful when drilling holes; put and fasten your steel bolts in the holes to seal solar panel mounts on the platform. Secure the solar panel to the mounts. Once your solar panel is mounted, you can connect your electrical chain. The wires should run under the panel.
Wire the Solar Panel
If you do not intend to get a professional for this job, you must understand how non-identical stringing configurations affect a solar panel’s current, voltage, and power. After you are familiar with stringing configuration, it is easier to choose an inverter for the solar panel.
Wire the array to the inverter to transform the Dc power generated by panels to Ac power that can be sent grill. The least and greatest voltage should be in the inverter range. Once the setup is complete, electricity will flow into your building’s electric panel.
Connect your cables
The final step, pass the electrical cable from the solar panel into your house through an underground conduit. Ensure you get the right size of cables for the solar system to avoid short fuses and overheat when you have a power surge.
The two factors that dictate the needed solar cable size are;
- The wider the interval between the solar panels and the loads, the greater the distance, the bigger the size.
- If the solar panels generate tons of current, then you need a bigger size.
Take the necessary safety measures.
