Thinking about pouring a new garden path? Or maybe a sturdy base for that backyard garden shed? Concreting looks simple from afar. Mix, pour, smooth, dry. Easy, right? Not quite. In reality, backyard DIY projects fail before the mixer even turns up. Poor preparation ruins more slabs than bad weather ever will. If you misjudge your site or rush the initial setup, you will end up with a cracked, uneven mess that requires jackhammering out. Success starts with a solid plan long before the wet cement arrives on your property. Do not skip these initial phases.
Ordering Your Materials
Ordering too much concrete leaves you with an expensive waste disposal nightmare. Order too little, and your project stalls halfway through. This creates structural weak points. How do you find the right middle ground? Measure every dimension twice.
Before phoning a supplier, grab a tape measure and map out your perimeter. For irregular shapes, break the area into smaller rectangles. You don’t have to guess with an online concrete calculator; you can calculate the exact volume based on length, width, and depth. Add a 10% wastage cushion so that soil settles, timber formwork bows, and wheelbarrows spill. Running short by a few wheelbarrows can completely ruin a day’s hard labour.
Thickness Rules
- Footpaths and garden paths: A depth of 75mm to 100mm handles regular foot traffic easily.
- Driveways and shed slabs: A minimum 100mm thickness is required, paired with steel mesh to support vehicular loads.
Saving a few bucks by skimping on thickness is a recipe for fast cracks. Ensure your excavation depth accounts for both the concrete and a proper sub-base layer underneath.
Preparing the Groundwork
Grab your shovel. Ground preparation requires heavy sweat but dictates the lifespan of your slab. Pouring directly onto loose topsoil or grass guarantees future disaster. Shifting soil is your worst enemy.
First, clear all vegetation. Dig down to your desired depth, allowing room for a compacted road-base layer. Renting a mechanical plate compactor from the local hire shop makes this job significantly easier. Pack the base until it feels rock solid.
Formwork Prep
Timber formwork acts as the mould for your wet mix. Because concrete weighs roughly 2.4 tonnes per cubic metre, it pushes outwards with immense pressure.
- Use thick timber boards: Avoid thin plywood that bends under weight.
- Drive pegs deeply: Place supporting stakes every one metre along the exterior.
- Create a slight slope: Angle the top of your formwork away from residential walls.
Let the water run off naturally. A slope of one centimetre for every metre of length prevents pooling during heavy downpours. Double-check your levels before locking everything down. Once that truck pours the mix, there’s no turning back. A collapsing timber wall means wet cement flowing all over your lawn.
Pouring and Curing
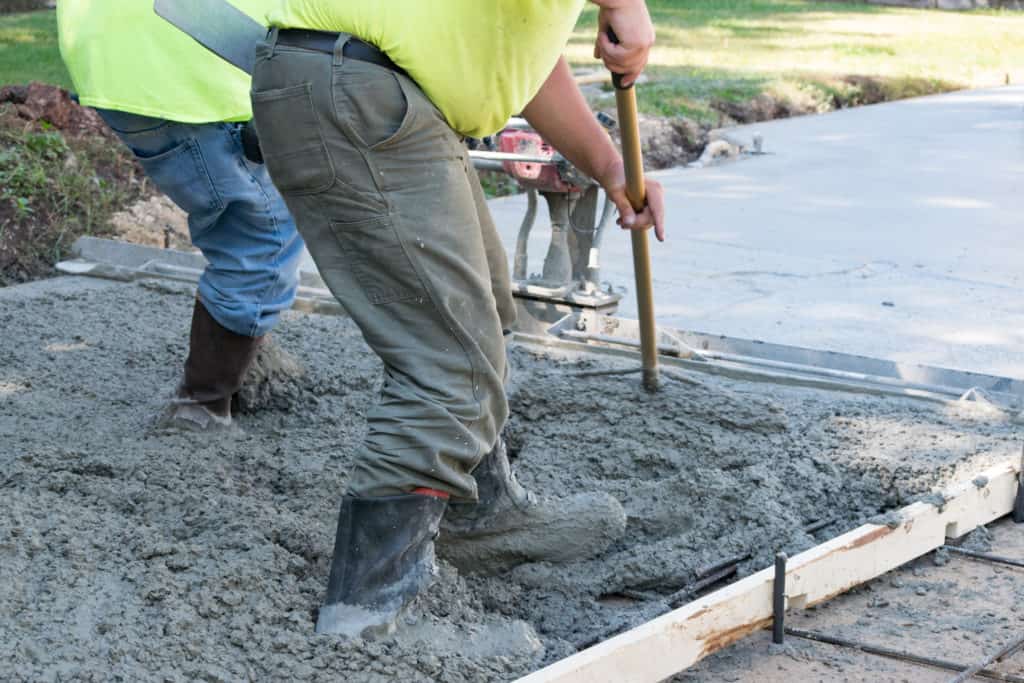
Do you have enough friends on standby? Concreting is a race against the clock, especially during hot Australian summer days. Wet cement cures quickly, meaning you need plenty of muscle ready to operate wheelbarrows, screeds, and trowels without pause.
Start dumping the mix at the furthest corner of your formwork. Work backward towards your exit point. Use a long straightedge board to screed the surface, pulling it across the timber forms in a sawing motion to level the top.
Finishing Up
Once the surface water evaporates, grab your finishing trowel or a concrete broom. Sliding a broom lightly across the semi-dry surface creates a non-slip texture. This step is vital for outdoor pathways exposed to winter rain.
Never add extra water to the surface to make finishing easier, as this weakens the top layer. Cut control joints every few metres using an edging tool to dictate where inevitable cracks occur. Keep the slab wet for at least three to five days after pouring. Spraying it gently with a garden hose slows the chemical drying process down, which dramatically increases the final strength of your concrete.
Final Thoughts
Undertaking a DIY concreting project provides immense satisfaction. It adds clean functionality to outdoor living spaces. But errors can be avoided through detailed planning. Rushing the dig or estimating your material quantities can lead to structural failure and throwing cash away. Take your time to level the ground properly, build rock-solid timber boundaries, and check your volume needs using accurate online tools before you order. This attention to detail ensures a hard-wearing slab that can withstand the rough Australian elements for decades.