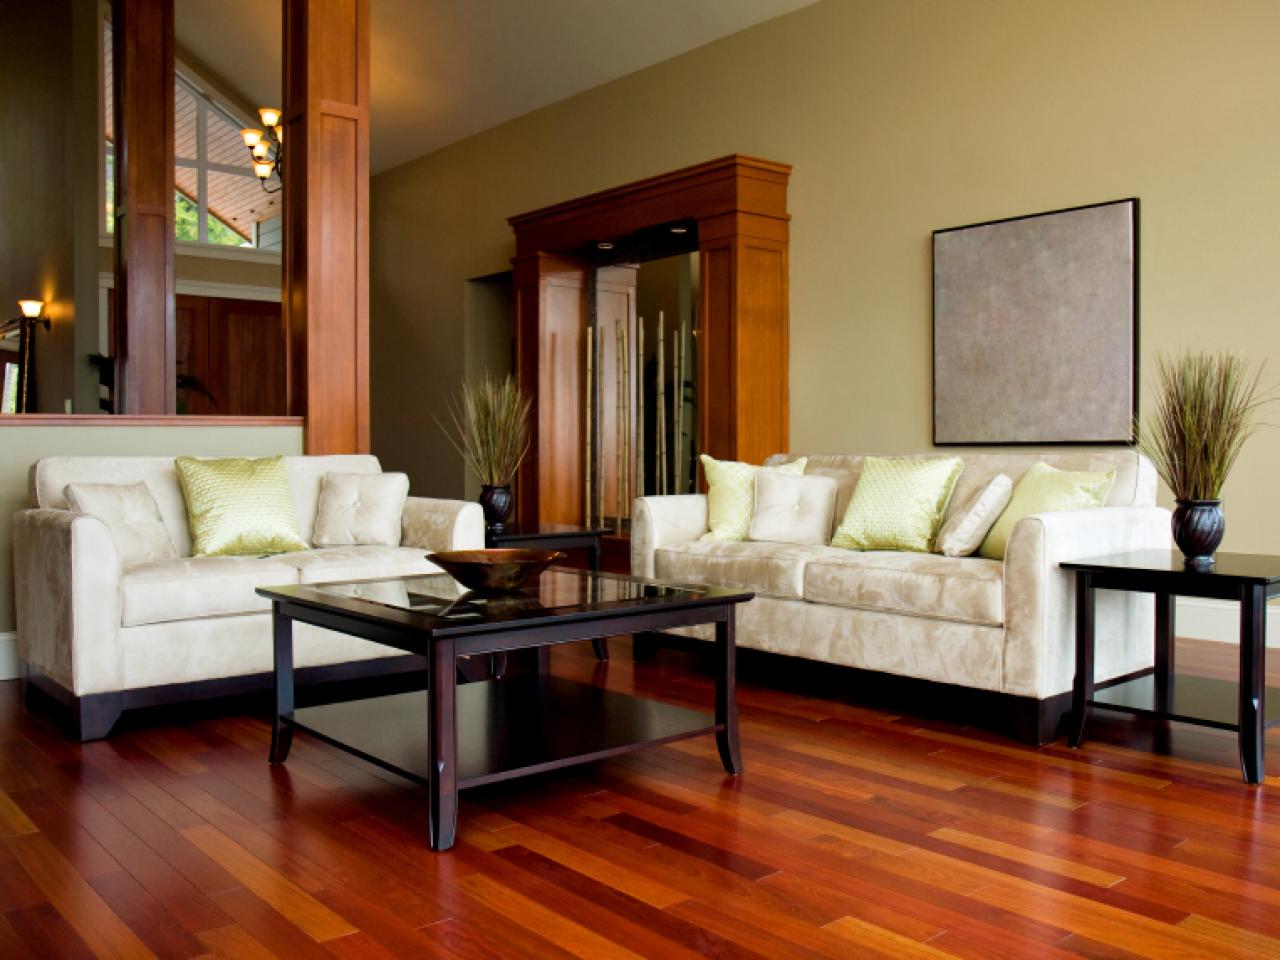
There’s something magical about walking into a home that oozes vintage charm. The creak of old floorboards, the rich patina of well-loved wood, and the stories embedded in each scratch and scuff. Restoring original flooring can transform a space, bringing back its historical beauty and adding a unique character that’s hard to replicate with modern materials. Here’s the why’s and how’s of breathing new life into those old floors!
The Allure of Vintage Flooring
Vintage flooring has an undeniable charm. It’s like a time machine that takes you back to the elegance of a bygone era. Whether it’s the warm hues of oak, the intricate grain patterns of mahogany, or the classic appeal of pine, original hardwood floors have a soul that tells the story of your home’s past. Restoring these floors is not just about aesthetics; it’s about preserving history and craftsmanship.
Benefits of Restoring Original Flooring
1. Authenticity
Original floors maintain the integrity of your home’s architecture and design. They are the real deal, not a modern imitation.
2. Quality
Older floors were often made from higher quality, more durable wood. By restoring them, you’re getting the most out of this superior material.
3. Value
Homes with restored original flooring can see an increase in property value. Prospective buyers often appreciate the authenticity and craftsmanship.
4. Sustainability
Restoring instead of replacing is an eco-friendly choice, reducing waste and the demand for new materials.
Steps to Restore Your Original Flooring
- Assessment
Before diving in, assess the condition of your vintage flooring. Are there deep scratches, stains, or significant damage? Determine if the floor can be restored or if certain sections need replacing.
- Cleaning
Start with a deep clean. Remove all the dust, grime, and old wax. This gives you a clear view of what you’re working with.
- Sanding
Sanding removes the old finish and smooths out imperfections. Use a drum sander for large areas and an edging sander for corners and edges. Remember to follow the wood grain to avoid damage.
- Staining
If you want to change the color, apply a stain. Test a small area first to see how the wood reacts.
- Sealing
Protect your hard work by sealing the floor. Polyurethane is a popular choice for its durability and ease of application. There are water-based options for a more natural look and oil-based for a warmer tone.
- Polishing
Give your floors a final polish to make them shine. Regular polishing helps maintain the finish and keeps the floor looking its best.
Tips for a Successful Restoration
- Hire a Pro
While DIY is great, hiring a professional for your hardwood floor installation and restoration can save you time and ensure a high-quality finish. They have the tools and expertise to tackle tricky issues.
- Maintain Your Floors
Once restored, keep up with regular maintenance. Sweep and vacuum regularly, and use rugs in high-traffic areas to protect the wood.
- Use Gentle Cleaners
Avoid harsh chemicals that can damage the finish. Opt for cleaners specifically designed for hardwood floors.
- Control Humidity
Wood expands and contracts with humidity changes. Use a humidifier in winter and a dehumidifier in summer to keep levels stable.
Final Thoughts
Restoring your original flooring is more than a home improvement project; it’s a journey into your home’s history. The end result is a space filled with character, beauty, and a tangible connection to the past. So, roll up your sleeves, grab your tools, or call in the experts. Your home’s vintage charm awaits its revival, and it starts from the ground up.
By taking the time to restore your original flooring, you’re not just enhancing your home’s aesthetic appeal; you’re preserving a piece of history and adding value to your property. Whether you’re doing it yourself or enlisting the help of professionals, the journey will be rewarding, leaving you with a beautiful, timeless floor that’s uniquely yours.

