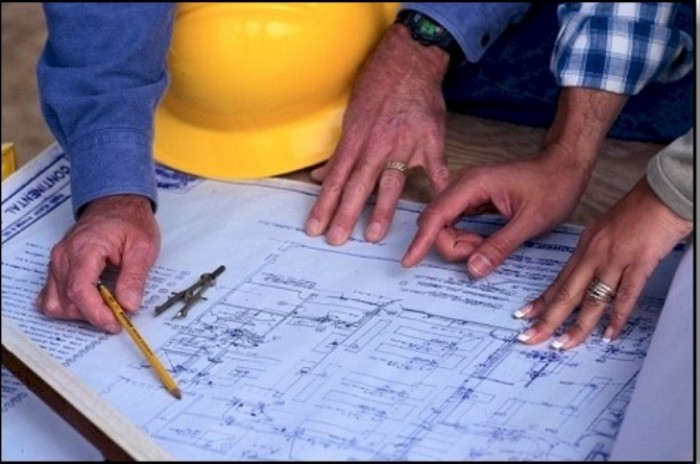
A castle-themed playground that earns gasps from kids and confidence from parents does not happen by accident. It requires the same rigorous commercial planning process as any standard playground, plus an additional layer of theme-specific engineering decisions.
Every tower, drawbridge ramp, and battlement platform introduces structural variables that generic site plans rarely anticipate. These seven construction stages walk through the full sequence, from capacity calculations to the pre-opening commissioning checklist, ensuring your build arrives at opening day compliant, durable, and ready for use.
1. Establish Capacity, Age Zones, and Visitor Circulation
Calculate the site’s peak simultaneous user capacity before specifying equipment. This number must appear in the design documents because it drives the structural rating requirements for every element. Skipping this step creates major compliance problems downstream.
Divide the footprint into distinct zones for toddlers, school-age children, and a transition buffer to reduce cross-age conflict. Castle layouts with multiple towers support this approach nicely. You must also account for heavy focal points early in this phase.
Planning for an authentic display suit of knight armour requires a dedicated structural footprint and visitor buffer zone. Circulation paths must never be blocked by perimeter elements, maintaining clear sightlines for safety.
| Quote: Circulation paths must never be blocked by castle walls or perimeter theming elements, because sightlines are a safety requirement, not a design preference. |
2. Coordinate Accessible Routes, Toilets, and Supervision
ADA-compliant routes must connect every age zone, entry point, and seating area. Specify ramp gradients at the maximum 1:12 slope standard for new construction. Select surface materials that satisfy both ADA compliance and fall zone ratings simultaneously. Keeping this surfacing contained requires sturdy boundaries, making commercial playground border systems a critical addition to defining the accessible play envelope.
Include at least one family-accessible restroom stall in the site plan. Identify natural staff stations where caregivers have unobstructed sightlines across all zones, and position seating directly at those locations. Adding shade structures over these stations reduces fatigue during peak summer hours and extends operating usability.
| Pro Tip: Shade structures over supervision stations reduce staff fatigue during peak summer hours and meaningfully extend daily operating usability. |
3. Engineer Drainage, Fall Zones, and Commercial Playground Border Systems
Site grading must slope away from all structure footings to prevent standing water from undermining hardware integrity. Specify perimeter channel drains below loose-fill surfacing material. Loose-fill materials compress at least 25 percent over time due to heavy use, making drainage critical to prevent seasonal saturation from reducing the fill below its rated fall height.
More than 200,000 children visit hospital emergency rooms annually for playground-related injuries, with falls causing the vast majority of incidents. Fall zone calculations remain feature-specific to mitigate this risk.
A common design error involves allowing fall zones from adjacent features to overlap and create hazardous convergence points. Each boundary must be mapped individually and checked against its neighbors.
| Important: Without a code-aware perimeter solution, surfacing migrates beyond the rated fall zone, and the containment calculation becomes void. |
4. Specify Durable Scenic Finishes and Weather Transitions
Castle-themed elements face UV degradation, freeze-thaw cycles, and high-contact wear across exposed surfaces. Powder-coat steel components with UV-stable finishes, and specify HDPE panels for battlements.
HDPE retains color without splintering under sustained weather exposure, which wood fails to do. Stone-effect prints should rely on pigments rated for a minimum of ten years outdoors.
Transition joints between dissimilar materials require engineered expansion allowances built directly into the design document. Without those allowances, seasonal temperature swings produce cracking at critical connection points.
This structural stress accelerates water infiltration and rapid hardware corrosion. Schedule annual inspections after severe weather to record findings in the maintenance log.
5. Design Secure Supports, Lighting, and Barriers for a Display Suit of Knight Armour
Treat heavy medieval replicas as dense public art installations rather than simple decorative trim. Specify a steel armature anchored deeply to a concrete footing. Never surface-mount a display of this type to loose-fill surfacing, as lateral forces from wind load cause an immediate tip-over hazard.
The anchor hardware must carry a rating well above peak load with a safety factor calculated by the project engineer. Install low-profile bollards at a minimum standoff from the display to prevent climbing risks.
Lighting should utilize vandal-resistant LED uplights recessed into the base. Include the display footing and barrier system in the professional safety inspection scope before opening day.
6. Connect Play, Ticketing, Retail, and Back-of-House Without Creating Blind Spots
Map the visitor journey in a logical sequence moving from entry into play zones, and finally through concession exits. Every transition should be direct and free of congestion points that force visitors to double back. Back-of-house access routes for maintenance corridors must never cross active play zones or create unsupervised architectural corridors that children might enter undetected.
Retail kiosks positioned near exits reduce interior congestion and preserve sightlines across the entire property. Identify blind spots created by castle towers or perimeter walls, then resolve each one specifically.
Solutions include mounting convex mirrors at tight corners or reducing barrier heights at critical gaps. CCTV locations must appear in the design document, since adding them later requires cutting into finished surfaces.
7. Commission Fire Safety, Maintenance Access, and Opening Inspections
Verify that emergency vehicle access routes remain clear of permanent theming elements. Minimum clearance widths are set by the local fire authority and documented in the operational plan. Fire suppression equipment for any semi-enclosed structure must remain visible, accessible, and formally recorded.
Every structural anchor point and display footing needs a documented inspection path before opening. Retrofitting documentation serves as a common source of costly delays. Engage a certified playground safety inspector for a final walk-through covering fall standard compliance and entrapment checks.
The Final Verdict
Building a castle-themed playground requires securing heavy displays and containing protective surfacing just like any standard commercial play space. Sturdy engineered footings behind aesthetic features prevent tipping hazards in high-traffic zones.
Perimeter containment solutions hold surfacing firmly within the rated fall zone to establish a reliable foundation. Final sign-offs from certified inspectors confirm that the structural and atmospheric elements work together securely.
- Confirm capacity calculations and age zone boundaries.
- Verify ADA routes and install containment borders for accessible surfacing.
- Anchor heavy medieval display pieces to engineered concrete footings.
- Complete safety inspections for sightlines, CCTV, and fire access.
- Secure final permits and establish a recurring maintenance log.